Editing Photos

Editing in Photoshop can be a very laborious thing. It can take many hours to get a few photos done. And its not because Photoshop is so hard to use, its because there are many steps to get the look you want in your photos.

Fortunately, there are many that have come before us that have put a lot of work into creating “Action Sets.” These Action Sets are a pre planned set of steps to help speed the process of photo editing. These actions have several layers that will show up in the “Layers Palette” when the action is activated for a specific photo, these individual layers can then be adjusted to taste.

For the image I’m editing today, I used a new action from Colorvale called “Fall Envy“, you can get it for free by clicking on the name.  I also use a set from yellow Sky Actions (click Here to see the set I use), the set cost me $50. And I use another free Action called “Poetic Winter BW Fade PSE” (click on the name to get the free download).

To start, here’s a before and After of the image I’m editing this morning:

chicken

This hen is a Barred Rock Aracauna mix we purchased this last summer for our flock.

Getting Started:

Open your photo in Photoshop (I use Photoshop Elements 8).

Your actions should show up in the upper right corner of your photoshop workspace. In the action box, click the Colorvale action “Fall Envy.”

I leave this action as is, and don’t do anything with the individual layers, this is my preference though and you may do as you like with them.

Next, Click the Yellow Sky Action “Rustic Goodness.”

Once all the layers have appeared, I go through and change the “Opacity” of each of the following layers in this action:
Bright & Crisp: 50%
Color Me: 12%
Touch of Color: 5%
Touch of Warmth: 4%
Level up: 0% (I delete this layer, which can be done by simply right clicking on it and select “Delete”)

Next I use the Yellow Sky Action “Soft & Rich Brush”, which in elements will affect the whole image, it won’t be a brush in Elements. Click “Ok” or “Continue” when it asks if you want to proceed. Adjust this layer Opacity to 12%.

Now click the poetic Winter BW Fade PSE Action (it will have a photo appearing as a camera sitting on a desk in your Actions box). I don’t change anything for this set except to make the Gradient Map layer invisible (just click the eye next to the layer to do this, you can make it visible again later).

Right click on  any of your layers and select Merge Visible.

Now, select your bottom (“Background”) layer.

Go to Enhance>Adjust Lighting>Brightness/Contrast.
set the Contrast to -50%.
repeat this process and set the Contrast to -25%.

Go to Filter>Distort>Diffuse Glow
Set the grain to 0, Glow to 1 and Clear Amount to 19.
Click “Ok.”

Then, Enhance>Adjust Color>Hue/Saturation.
Set the Saturation for 20%.

Enhance>Adjust Lighting>Levels
Set the dark side to 20.

Now you need to “Duplicate” your background layer.
Right click on your bottom layer and click “Duplicate Layer.”
Click “Ok” when the pop up appears asking about naming your new layer.

Select your new layer (should be second to bottom layer) and go to Filter>Stylize>Emboss.
Set Height to 6px, Amount to 100%, Click “Ok.”

Now your image looks like its got a grey mask over it, now don’t freak out….
“Oh No! What have I done!”
This mask will help to sharpen your image.

Now set this layers “Style” (next to the Opacity bar) as Overlay
and set the opacity for 50%.

Merge Visible. Zoom in, can you see the difference?

Ta-da! What do you think?

Now, Go to File>Save and save your image as a JPG
(or another file type if you have a preference).

You can alter things to meet your own style as you go along. This is just to give an idea of all the work that goes into a photo. Even with Actions, editing can take a while. But it’s what it takes to get the photo just the way you want.

There are lots of other ways to edit your photos in Photoshop, so have fun with it! Don’t be afraid to experiment a little here and there.

This is Sarah’s Scenes, Real Life photographer.

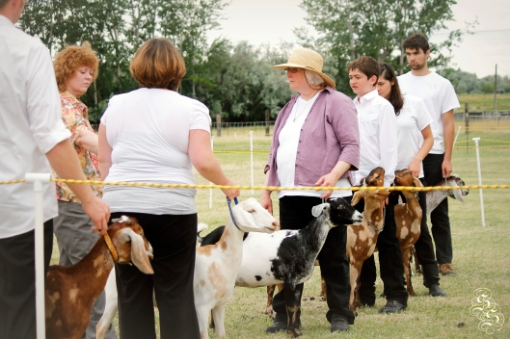
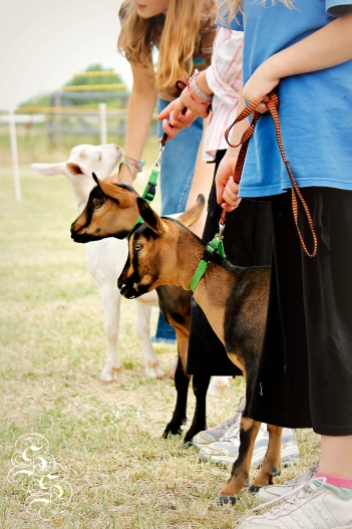
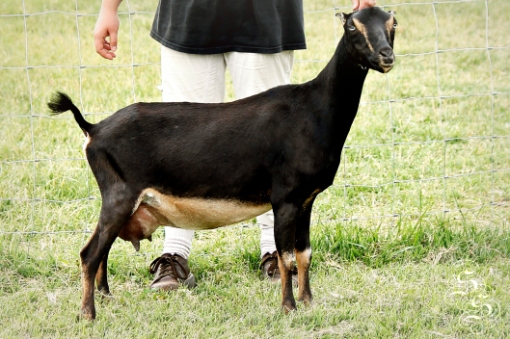
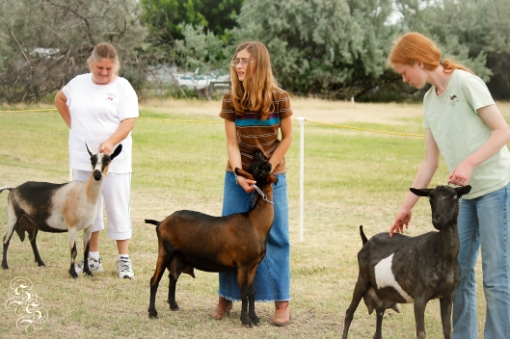
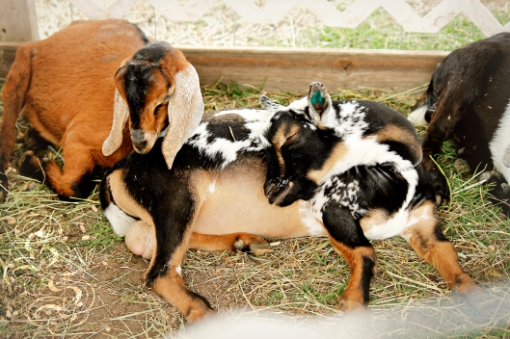
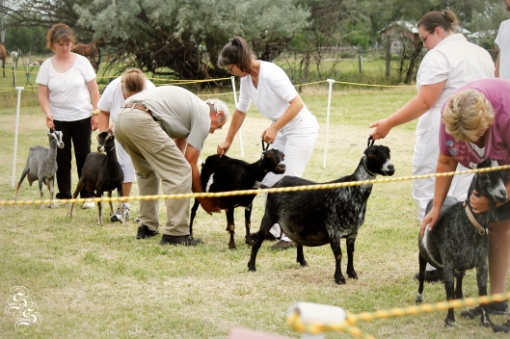
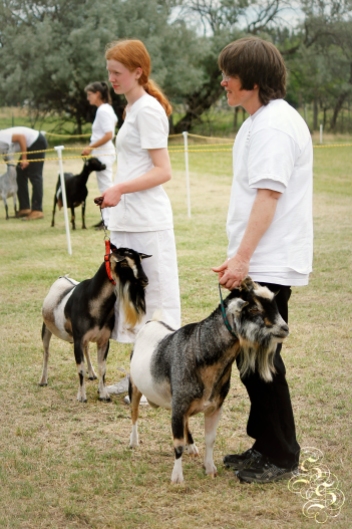
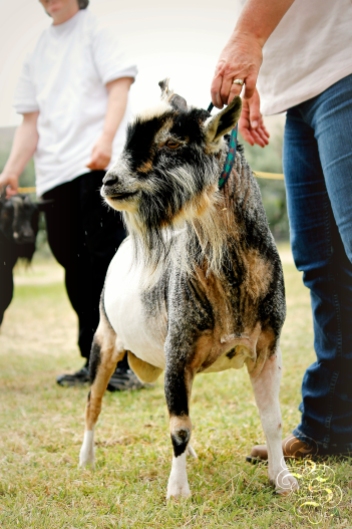
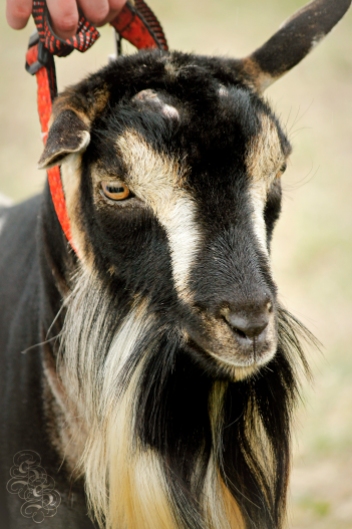
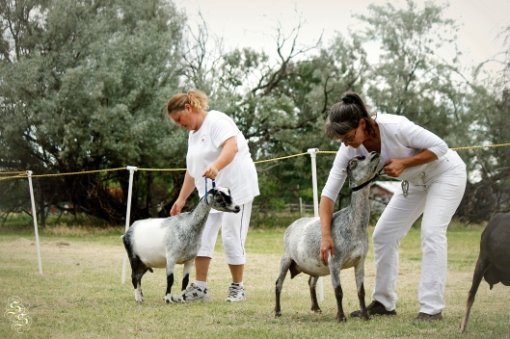
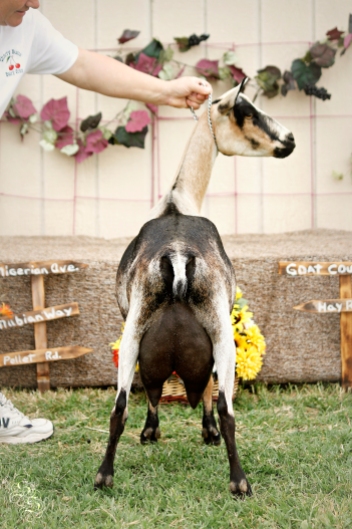
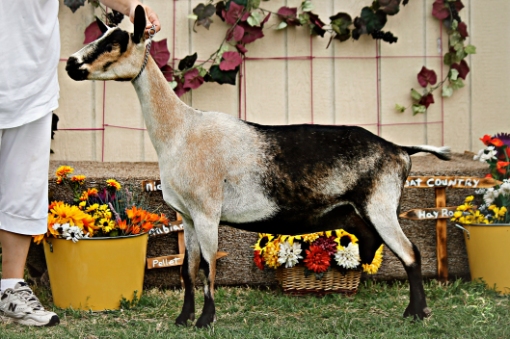
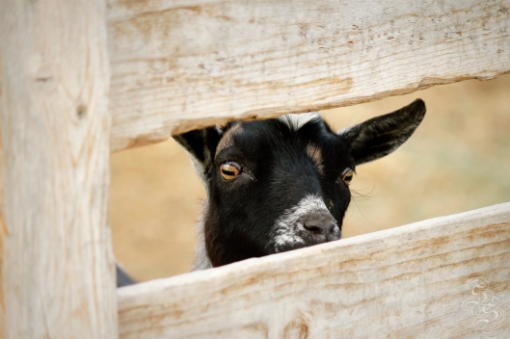
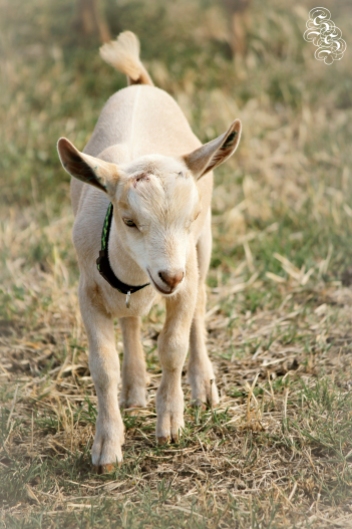
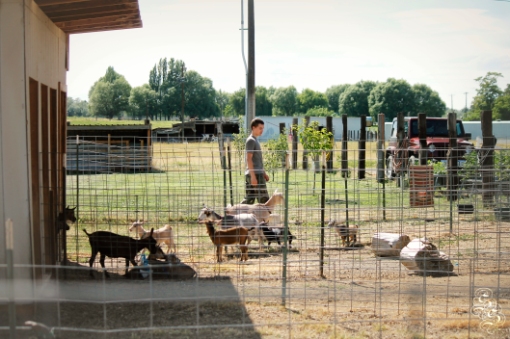
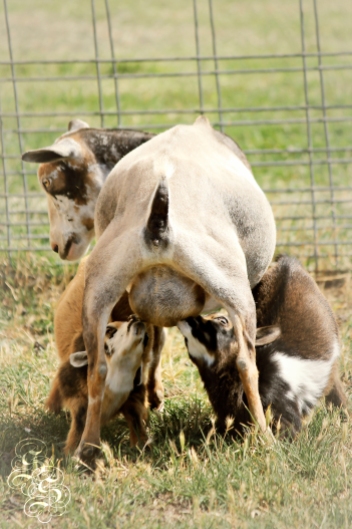
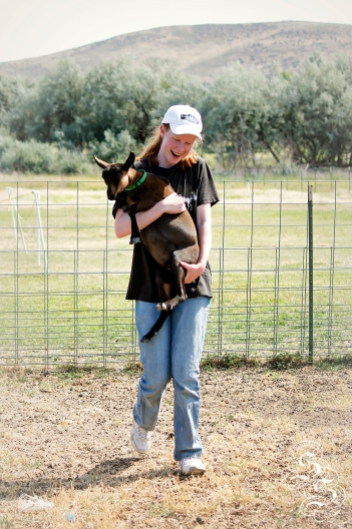
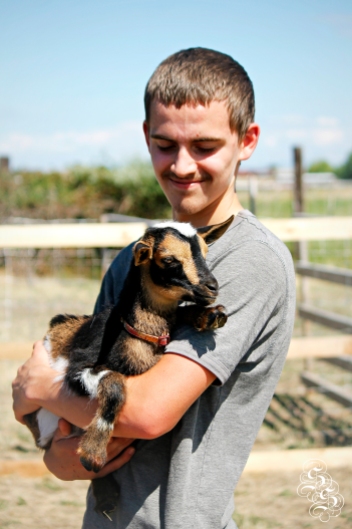
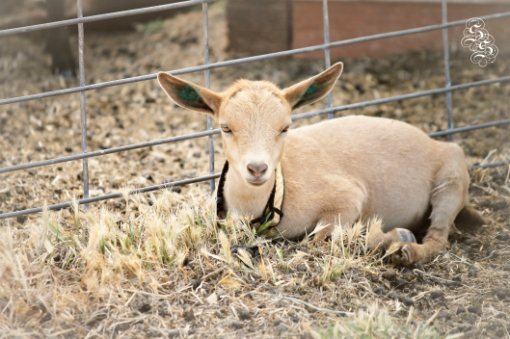
MDGA Goat Show 2012

017 2

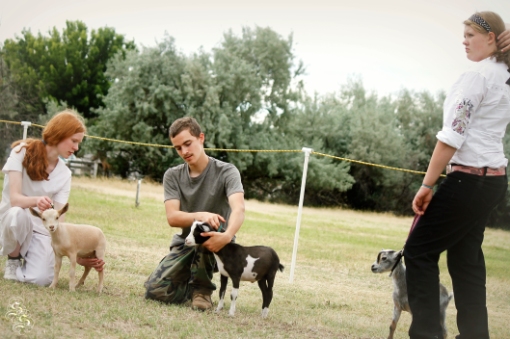
MDGA Goat Show 2012

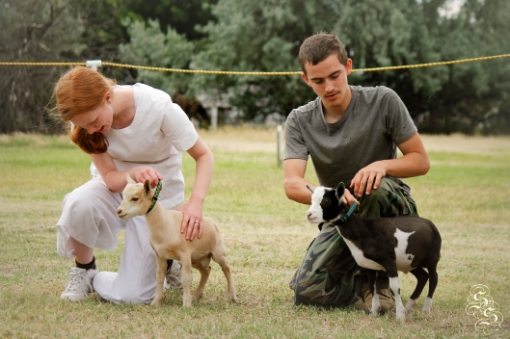
MDGA Goat Show 2012

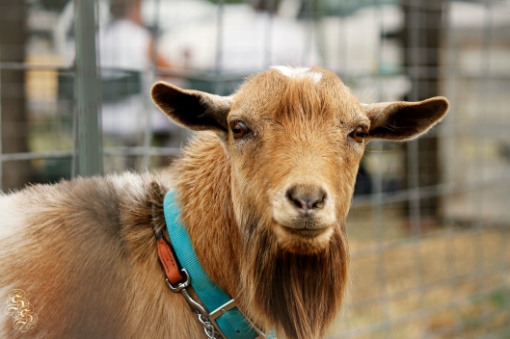
540 copy 536 copy 535 copy 534 copy 516 copy 513 copy 511 copy 507 copy 505 copy 504 copy 503 copy 500 copy 499 copy 399 copy 270 copy 133 copy 125 copy 109 2 copy 108 copy 107 copy 077 copy 075 2 copy 071 2 copy 064 2 037 2 copy

This is Sarah’s Scenes, Real Life Photographer.
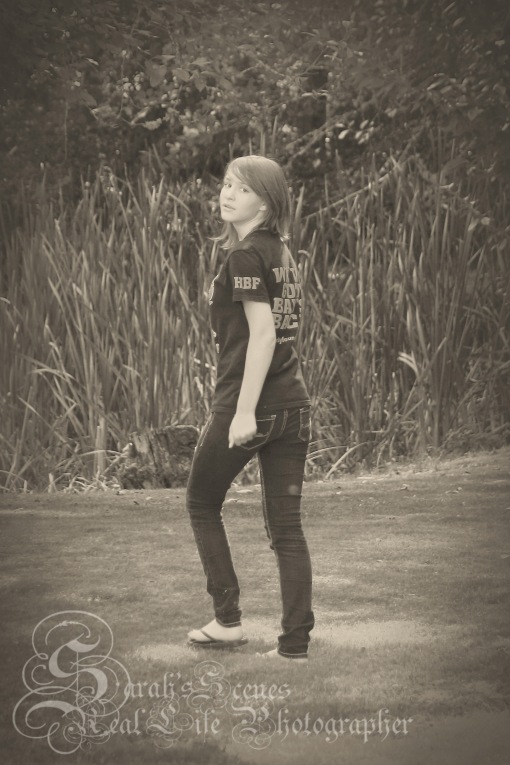
Portraits

I like a very Traditional, classic feel to my photos. I also love candid shots, two of the top four were total candids Anybody care to guess which two are the candids?


This is Sarah’s Scenes, Real Life Photographer.

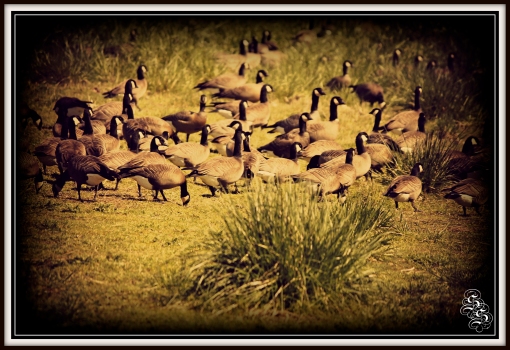
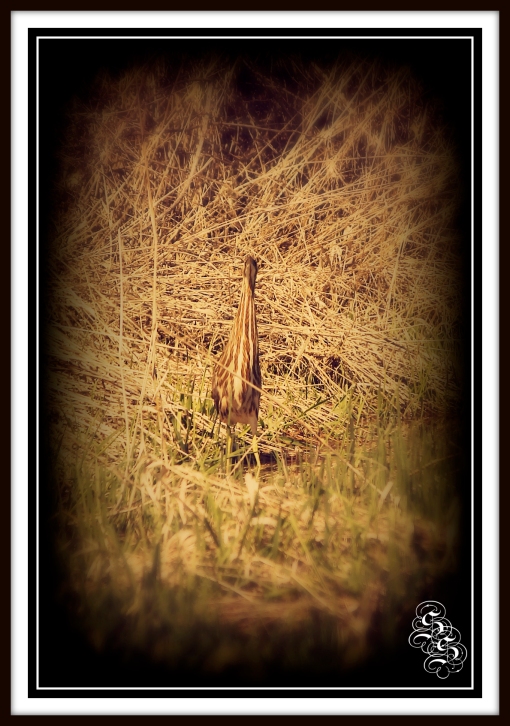
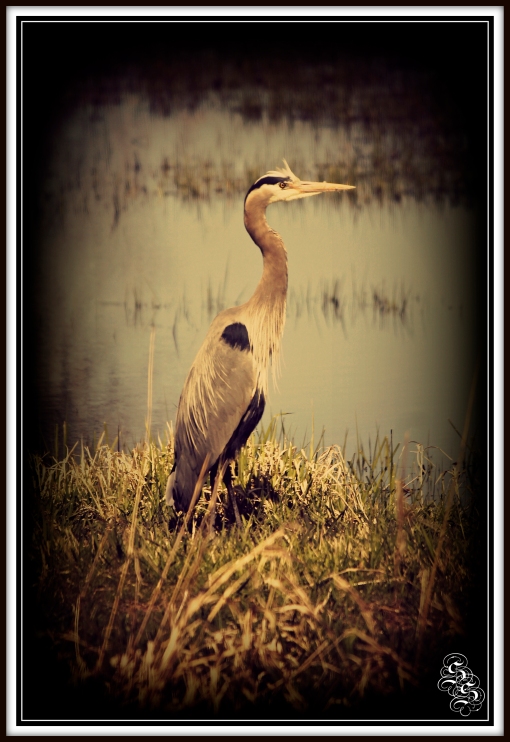
WildLife at the Reserve, part 1

Geese

Bittern

Great Blue Heron

These were taken at Ridgefield, Washingtons Wildlife Refuge on April 7, 2012.

This is Sarah’s Scenes, Real Life Photographer.

Getting started: White Balance

all right, in our last post we covered “using what you have to make a good photo” Don’t be discontented and think you can’t do great photography just because you don’t have a great rated camera! well, now were going to start learning about how to use that little camera in your hands to the best advantage!

First, I want to challenge you to stop using Auto! Don’t use the full auto setting, it takes all the creativity out of photography!

Second, start shooting in Program mode, it gives a little more control without scaring you out of your mind with all the controls needing your attention. I would start using this mode by adjusting the “White Balance”.  When you go to the white balance feature you will see the options: Auto, sunlight, shade, cloudy, Tungsten Light, White Fluorescent Light, flash, and custom.

Auto means the camera will decide the white balance.

Sunlight means that it will leave things that you see almost untouched in the picture, it will appear very much as you see it when you’re shooting out-of-doors.

Shade gives a warm almost orange hue to your pictures, a lot of landscape photographers use this setting to make the colors richer.

here’s a sample of the Shade setting:

Cloudy works in a similar way to shade, but not quite as much.It adds a little warmer color, but not a strong amount and helps to enhance some colors that would be dull without it, but without blowing things out of proportion.

Tungsten is for indoors with the lights on. The regular house lights have an orangey hue to them and that will affect your photos. But this setting will help to reduce that orange glow, and make it less noticeable.

White Flourescent is for when you’re shooting in business buildings or any other type of building tha has those white colored lights, you can also use the sunlight setting for those places if you like.

Flash is similar to sunlight, only you can choose to have the flash on or off. with sunlight it’s usually just off.

and then Custom is kinda hard, it’s for those brave ones out there that want to do a lot of experimenting. you can set that yourself, there are a few tricks to it, but i will save that for another day.

These are some quick sumaries of the White Balance settings, and will help you as you progress away form Full Auto Mode.

But, you can think outside the box with these settings! for instance, with the Shade Mode you don’t always HAVE to be in the shade to use it. You could be in the woods or out in a field, like here…

It was drizzling rain upon us, though we were out in the light it was a dreary sort of overcast day. Using the shade white balance brightened things up, made the color richer, and made it feel like a mid-summers day! My point, once again, is “Be Creative,” and stop using the full auto mode! it takes all creativity out of your pictures, not to mention setting the white balance manually gives a better picture, period. I hope you’ve learned a little from this article to help you as you edge away from using Auto Mode.

Once again, this is Sarah’s Scenes Real Life Photographer.

Lesson: start adjusting the white balance yourself. be creative with it, and don’t be a afraid to explore your options!

Subscribe via Email

Enter your email address to subscribe to this blog and receive notifications of new posts by email.

Join 1,126 other subscribers